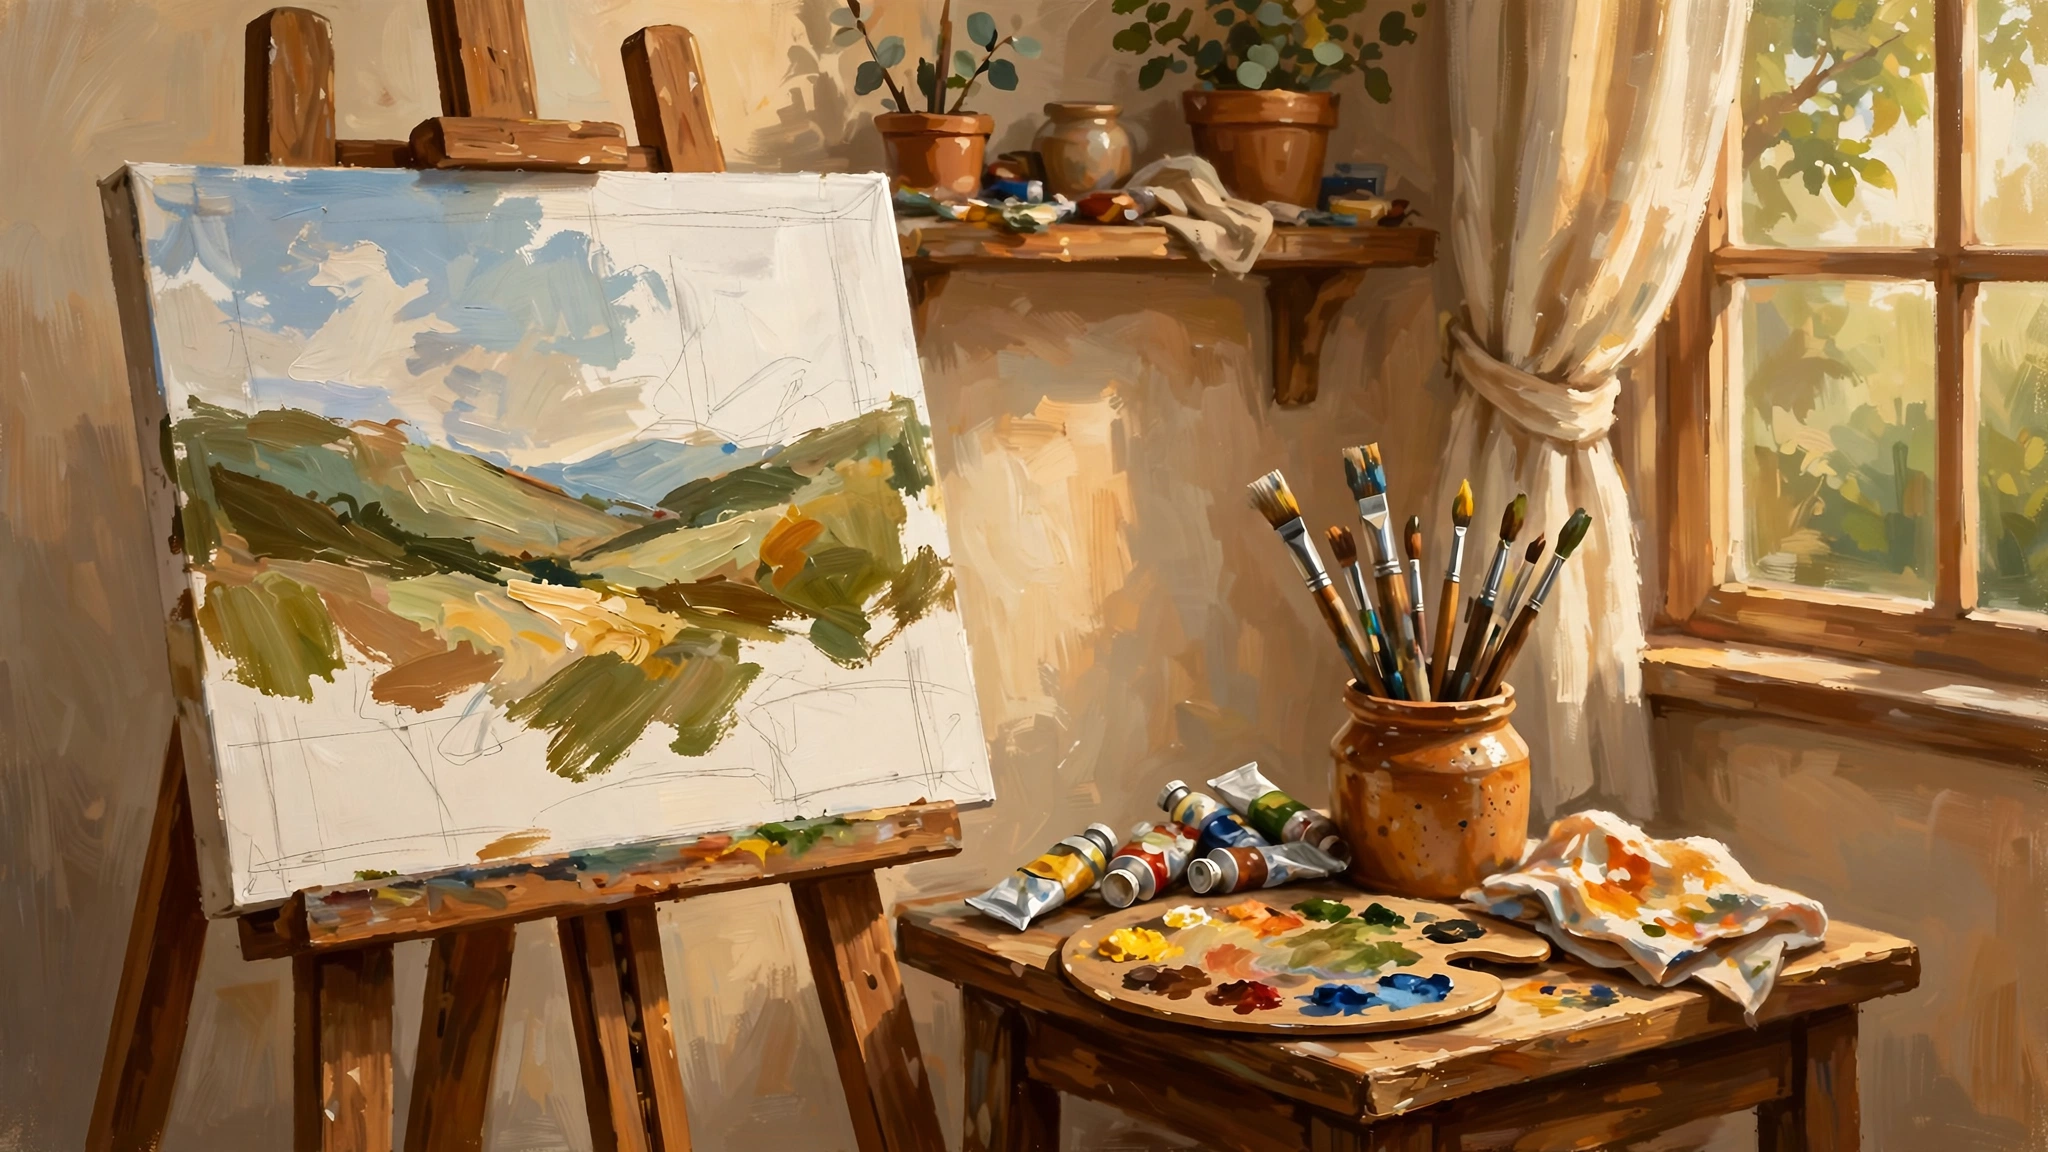
Oil painting has captivated artists for more than six centuries, from the luminous glazes of Jan van Eyck to the thick, expressive impasto of Van Gogh. If you have ever stood before a painting and wondered how those rich, glowing colors were achieved, this guide to oil painting for beginners is for you. Unlike fast-drying acrylics or delicate watercolors, oils give you something precious: time. Time to blend, time to correct, and time to truly understand color. Here is everything you need to take your first steps with confidence.
Essential Materials for Oil Painting Beginners
One of the biggest mistakes new painters make is buying too much. You do not need forty tubes of paint to start. A focused set of quality basics will take you much further than a sprawling kit you do not understand yet.
- Paints: start with a limited palette — titanium white, ivory black, cadmium yellow (or yellow ochre), cadmium red (or alizarin crimson), and ultramarine blue. With these five colors you can mix almost any hue you need, and mixing teaches you color theory faster than any pre-mixed tube.
- Brushes: a small set of hog-bristle brushes — flats and filberts in a few sizes — plus one or two soft synthetic rounds for details. Stiff bristles move thick paint well, while soft brushes are better for blending and glazing.
- Surface: pre-primed canvas panels are inexpensive, sturdy, and perfect for practice. Stretched canvas is the better choice for finished pieces you plan to hang.
- Palette: a wooden palette or a pad of disposable paper palettes. Oils dry slowly on their own, so you do not need a stay-wet palette.
- Mediums and solvents: refined linseed oil to thin paint and improve flow, plus an odorless mineral spirit for thin washes and brush cleaning. Avoid turpentine indoors — its fumes are harsh.
- Easel and extras: a simple table easel is enough to start, along with a palette knife for mixing, rags or paper towels, and two jars — one for solvent, one for medium.
Setting Up Your Workspace
You do not need a dedicated studio, but a few setup choices make oil painting for beginners far more enjoyable. Work near a window for good natural light, or use a daylight-balanced lamp so colors read accurately in the evening. Ventilation matters: even odorless solvents release vapors, so open a window or choose a room with airflow. Arrange your palette the same way every session — lights to darks along one edge, for example — so color mixing becomes second nature instead of a mid-painting treasure hunt.
Basic Techniques Every Beginner Should Know
Underpainting. Most oil paintings begin with a thin, monochromatic sketch in diluted paint, often burnt umber or raw sienna. This underpainting maps out values — the lights and darks — before color complicates the picture. Let it dry, then paint over it with increasing confidence.
Layering and glazing. Oils excel at glazing: thin, transparent layers of color built up over dry underlayers. Each glaze shifts the color beneath it, creating a luminous depth that single-layer painting cannot match. The key word is dry — let each layer dry before adding the next one.
Fat over lean. This is the golden rule of oil painting. Every successive layer should contain more oil (“fat”) than the one beneath it (“lean”). Lean layers, thinned with solvent, dry quickly and go down first; fat layers, richer in oil or medium, go on top. Reversing this order causes cracking as the painting ages.
Alla prima (wet on wet). The opposite approach: finishing a painting in a single session, blending colors directly on the canvas while everything is still wet. It is expressive and immediate — a wonderful way to loosen up once the basics feel familiar.
Your First Exercise: A Simple Still Life
Forget ambitious landscapes for now. Set up three simple objects — an apple, a mug, and a folded cloth — under a single lamp, then follow these steps:
- Sketch the composition lightly with thinned burnt umber, checking proportions as you go.
- Block in the big shapes with thin washes, focusing only on light and shadow, not on detail.
- Let the block-in dry, or work gently into it for an alla prima feel.
- Mix your colors from the limited palette and paint the objects one at a time, working from dark to light.
- Step back often. Squint at your subject — squinting simplifies values and shows you what actually matters.
- Stop before you overwork it. Knowing when to put the brush down is a skill in itself.
Common Beginner Mistakes to Avoid
Using black straight from the tube for shadows. Tube black looks flat and lifeless. Mix shadows from complementary colors instead — ultramarine blue plus burnt umber makes a far richer dark.
Painting too thickly, too soon. Beginners often pile on paint hoping for richness. Build up gradually instead; thick impasto works best as a final accent, not as a foundation.
Ignoring value. Color gets the glory, but value — how light or dark something is — does the real work of making a painting read correctly. If your painting looks wrong, check the values first.
Neglecting brush care. Dried oil paint ruins brushes quickly. Rinse in solvent, wash with soap and water, reshape the bristles, and store brushes upright.
Keep Going: Progress Comes From Practice
Your first paintings will not be masterpieces, and that is exactly how it should be. Every session teaches your hand and eye something new. Keep a few early canvases to look back on — in six months, the progress will surprise you. Oil painting for beginners is a journey of patience, observation, and joyful experimentation. Set up your easel, squeeze out your five colors, and make your first mark today.